CONNECTING PI TO LAPTOP'S ETHERNET PORT:
HARDWARE REQUIREMENTS:
- SSH enabled Raspberry Pi
- SD Card Adaptor
- Ethernet (Cat 5) Cable
SOFTWARE REQUIREMENTS:
- Putty
- XMing
STEP 1:
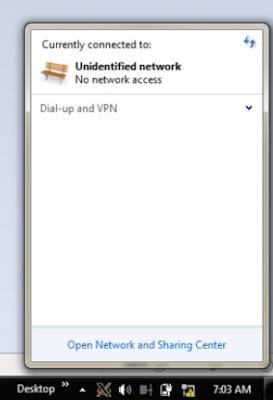
Open "Network and Sharing Center" by right clicking on the Network icon in the task bar as follows
STEP 2:
"Change adapter Settings" on the Left side pane of the Network and Sharing Center as follows
It will prompt you for Network Connections as Follows
STEP 3:
STEP 4:
Enable both the Check buttons on the "Sharing" Tab.
STEP 5:
Then again open the "Networking" Tab. Select Internet Protocol Version 4 (TCP/IPv4) click on "properties" open the General Tab. Enable "Obtain IP address automatically" and "DNS Server address automatically".
STEP 6:
Please give sometime for Laptop to identify the Network.
STEP 7:
Then open Command Prompt in Administrator mode, as shown in the below image.
Use the "ipconfig" command on command prompt to check the IP Address of the Laptop.
After that Power Off the PI, Then take the SD Card out from Raspberry PI.
STEP 8:
Insert the SD Card into Laptop using Card Reader or Adapter.
STEP 9:
Then, Open the "CommandLine.txt" file on SD Card then Edit it as shown in the following Image.
STEP 10:
Then, open "Command Prompt" in "Administrator mode", as shown in the below image.
Then use ping command with IP address Stored in the SD Card on Command Prompt Window to check the Response of Raspberry Pi and its connectivity with Laptop which allows to access the Data.
STEP 11:
Then,Open Putty with the Host Name “ pi@IP Address”.
If any Dialog box appears then press OK button. Then, It will Show as follows
STEP 12:
Now, you are connected with Raspberry PI with Laptop. It will be only used to access the Raspberry PI with Command Line Interface. So, You have to install the Xming Software on Laptop, Which will support Graphical User Interface [GUI]. After the installation, You will find its icon in the Taskbar as follows
STEP 13:
Now again open the Putty Software as follows on the Left Pane called “Category” . You should use the path Connection ->SSH->X11. Then, on the Right pane click on Enable X11 Forwarding.
Then, back to the Session on the left pane called as “Category”. Then,On the Host Name as pi@IP Address.
Click on "Open" button.
STEP 14:
Then, Enter the "lxsession". Now,you are successfully completed the GUI configuration. Now you can see the Desktop of Raspberry Pi as follows.
Other Related Links


